Powering Your Drone
Follow this step-by-step guide to power your drone. While some steps are universal across products, others may vary depending on your specific model. Use the tabs to select the guide tailored to your product.
Tutorial Video: Powering The Drone
To quickly understand how to connect the battery to your drone, watch this video tutorial.
Battery and Buzzers
Checking the Battery
Before connecting the battery to the drone, ensure the battery is healthy and fully charged. Do not use a battery that appears damaged or feels swollen. Connect the buzzer to the battery as shown in the image below, with the black wires on the left when facing the buzzer display.
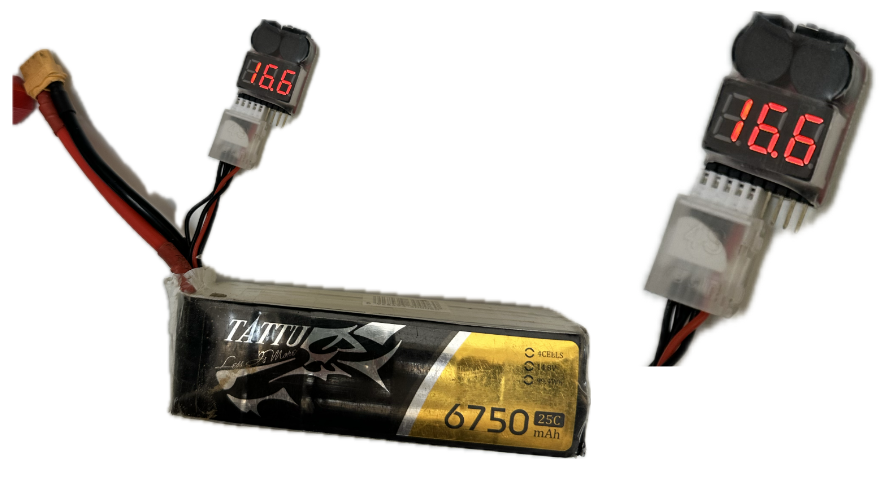
Once connected, the buzzer will display the number of cells, the total voltage of the battery, and the voltage of each individual cell. If the voltage drops below the threshold set on the buzzer (use the button on top to set it), the buzzer will sound repeatedly. When used on a drone, the average cell voltage should not drop below 3.6V. A fully charged, healthy battery should have around 4.2V per cell.
Charging the Battery
When charging the battery, follow the 1C rule - do not exceed a charging current equal to the battery's capacity (for example, a battery with 8Ah can be theoretically charged at up to 8A). However, using a lower current will prolong battery life, though it will extend the charging time. For an 8Ah battery, we recommend charging at 4-6A. Refer to the manufacturer’s instructions for more details on your specific battery.
Connecting the Battery
Ensure the propellers are not mounted at this stage to avoid accidental spin-up.
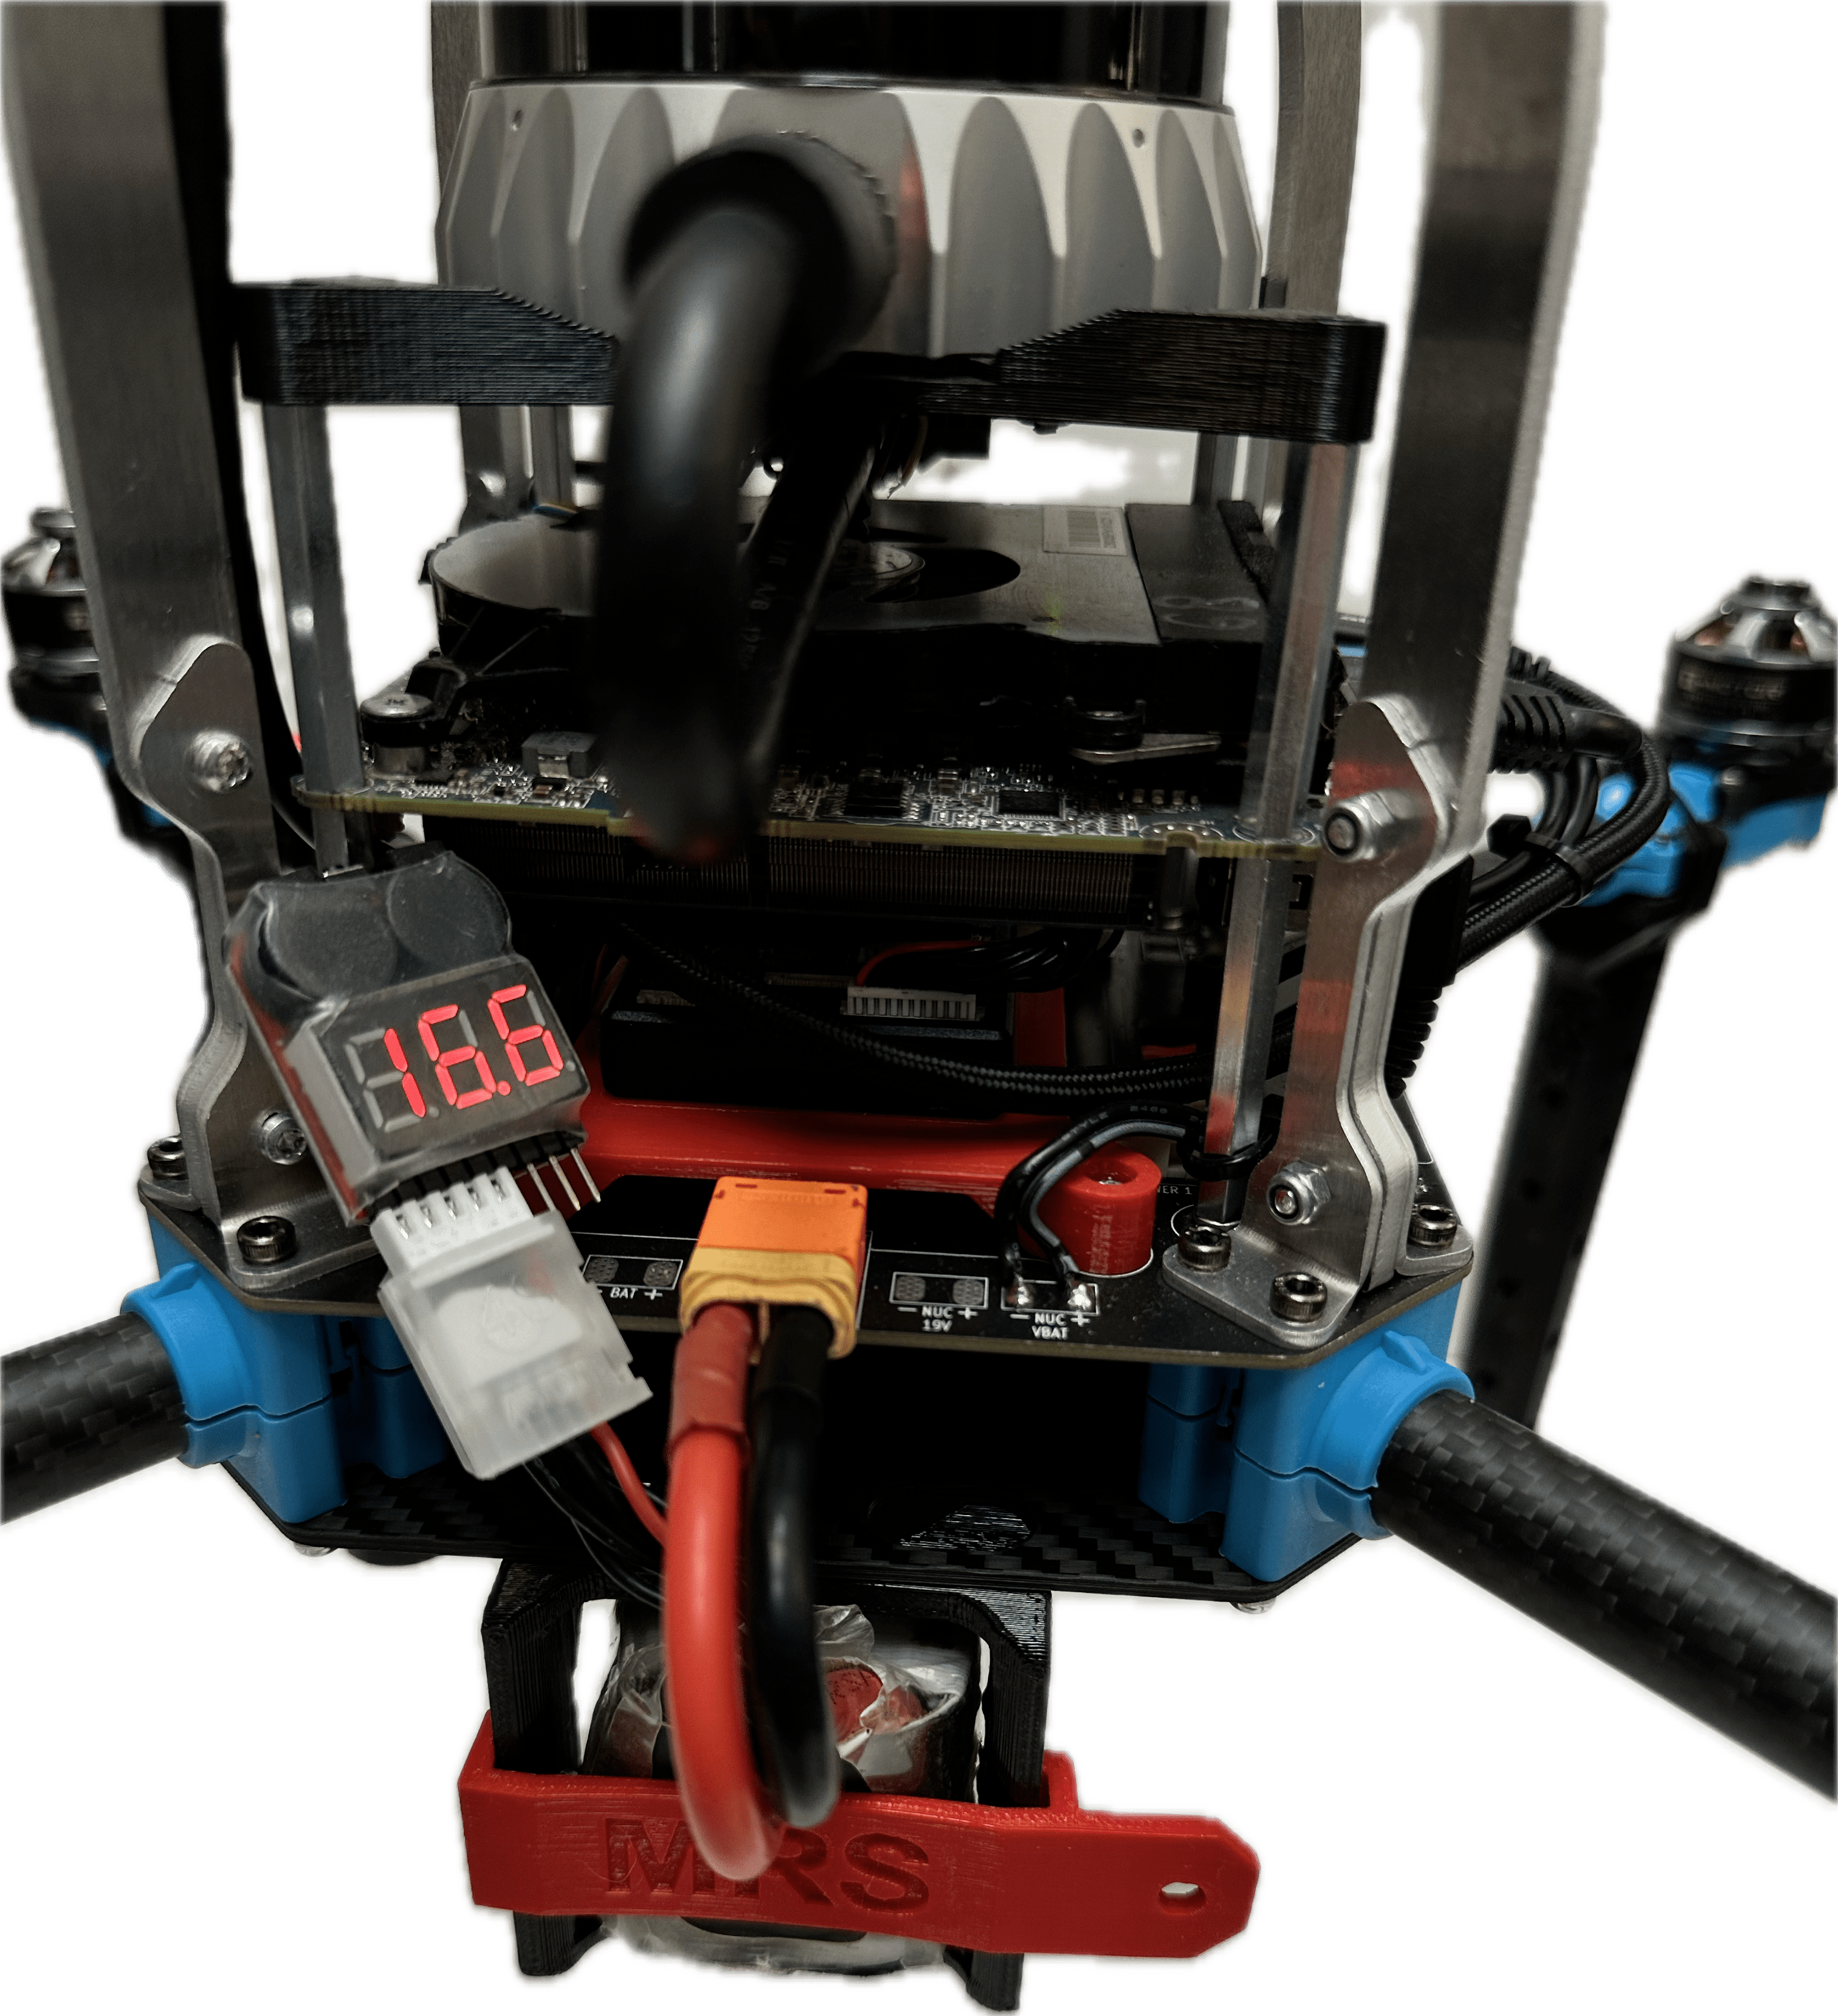
Once the buzzer is connected to a healthy battery, place the battery in its holder and securely connect it to the drone. You should hear audible signals from various drone components, confirming the connection. Be sure to lock the battery holder.
Specific Instructions by Product
- NVIDIA/NUC computers
- RoboFly
Turning On the Host Computer
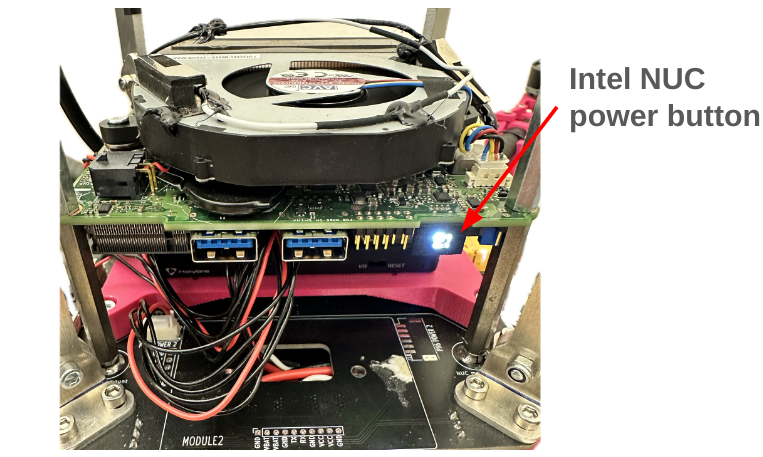
Some drones with NVIDIA or Intel NUC computers require the host computer to be powered on after connecting the battery. After the battery is connected and securely locked in place, turn on the host computer by pressing its power button. In the image below, the Intel NUC computer is used as an example. When powered on, a LED should light up, and you should hear the fan begin to spin.
The drone is now powered on. Proceed to the next page to configure the drone’s network.
Safety Mode
In Safety Mode, only the onboard computer (Raspberry Pi) and the sensors are powered, so RoboFly cannot fly. In this mode, it is safe to handle the drone even with the propellers mounted, as the motors cannot spin.
To power the RoboFly in Safety Mode, remove the cover and connect the Raspberry Pi to a suitable power supply via its USB-C port (Power Delivery up to 5A and 5.1V).
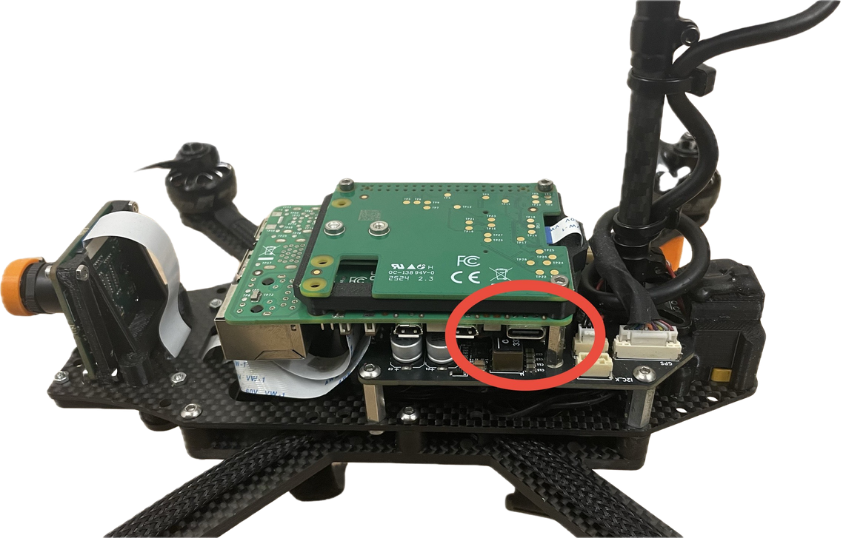
If you hear any strange noises from RoboFly, it may be trying to draw insufficient power to the motors. This issue typically affects older versions, but you can continue working with the device safely.
Flight Mode
In Flight Mode, RoboFly is fully powered and ready for flight. To power the RoboFly in Flight Mode, connect the battery to the XT60 connector on the bottom rear of the drone, ensuring a secure connection.
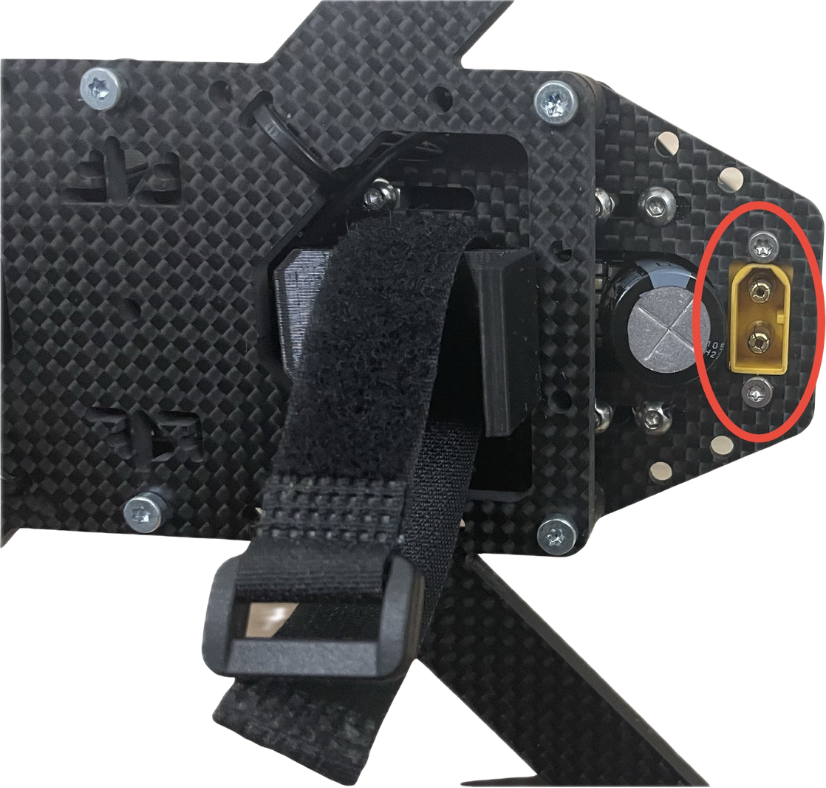
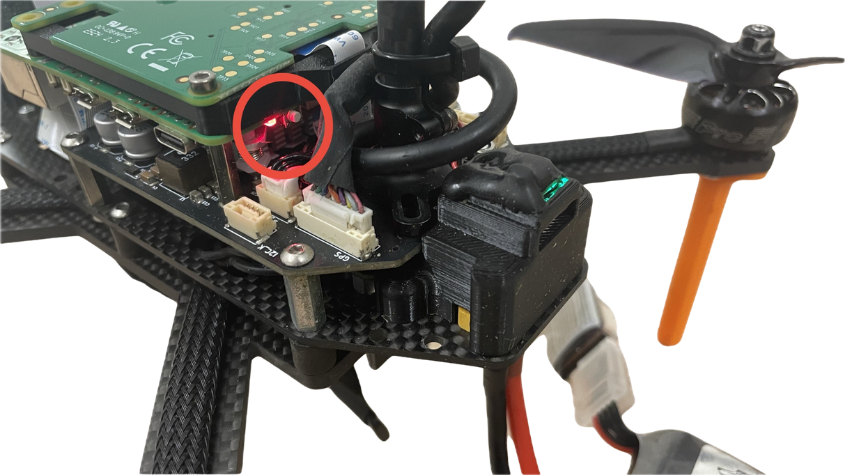
If the battery connector is not fully inserted, the Raspberry Pi may fail to start properly. Try unplugging the battery and reconnecting it. If this doesn't resolve the issue, you may need to remove the RoboFly cover and press the white button next to the red LED, which should be glowing.