Calibrating Your Drone
Calibration is an essential step to ensure that the drone operates correctly. The calibration process is partly carried out using QGroundControl.
QGroundControl provides full flight control and mission planning for any MAVLink-enabled drone. It also facilitates the calibration of various components connected to the embedded flight controller, including the compass, accelerometer, gyroscope, and other sensors.
Sensor calibration should be performed every time the drone is moved to a new location (e.g., transporting the drone by car, not simply carrying it by hand over a distance of 100 meters). Additionally, calibration is required after a hard landing (e.g., a crash) or whenever the drone exhibits instability during position-hold flight.
Download and Install QGroundControl
-
Download and install the application by following the instructions here.
-
Once installed, launch the application (make sure to set the file as executable if you are using Linux). You should see a screen with Disconnected in the top left corner. Click on the logo next to it.
chmod +x ./QGroundControl.AppImage./QGroundControl.AppImage
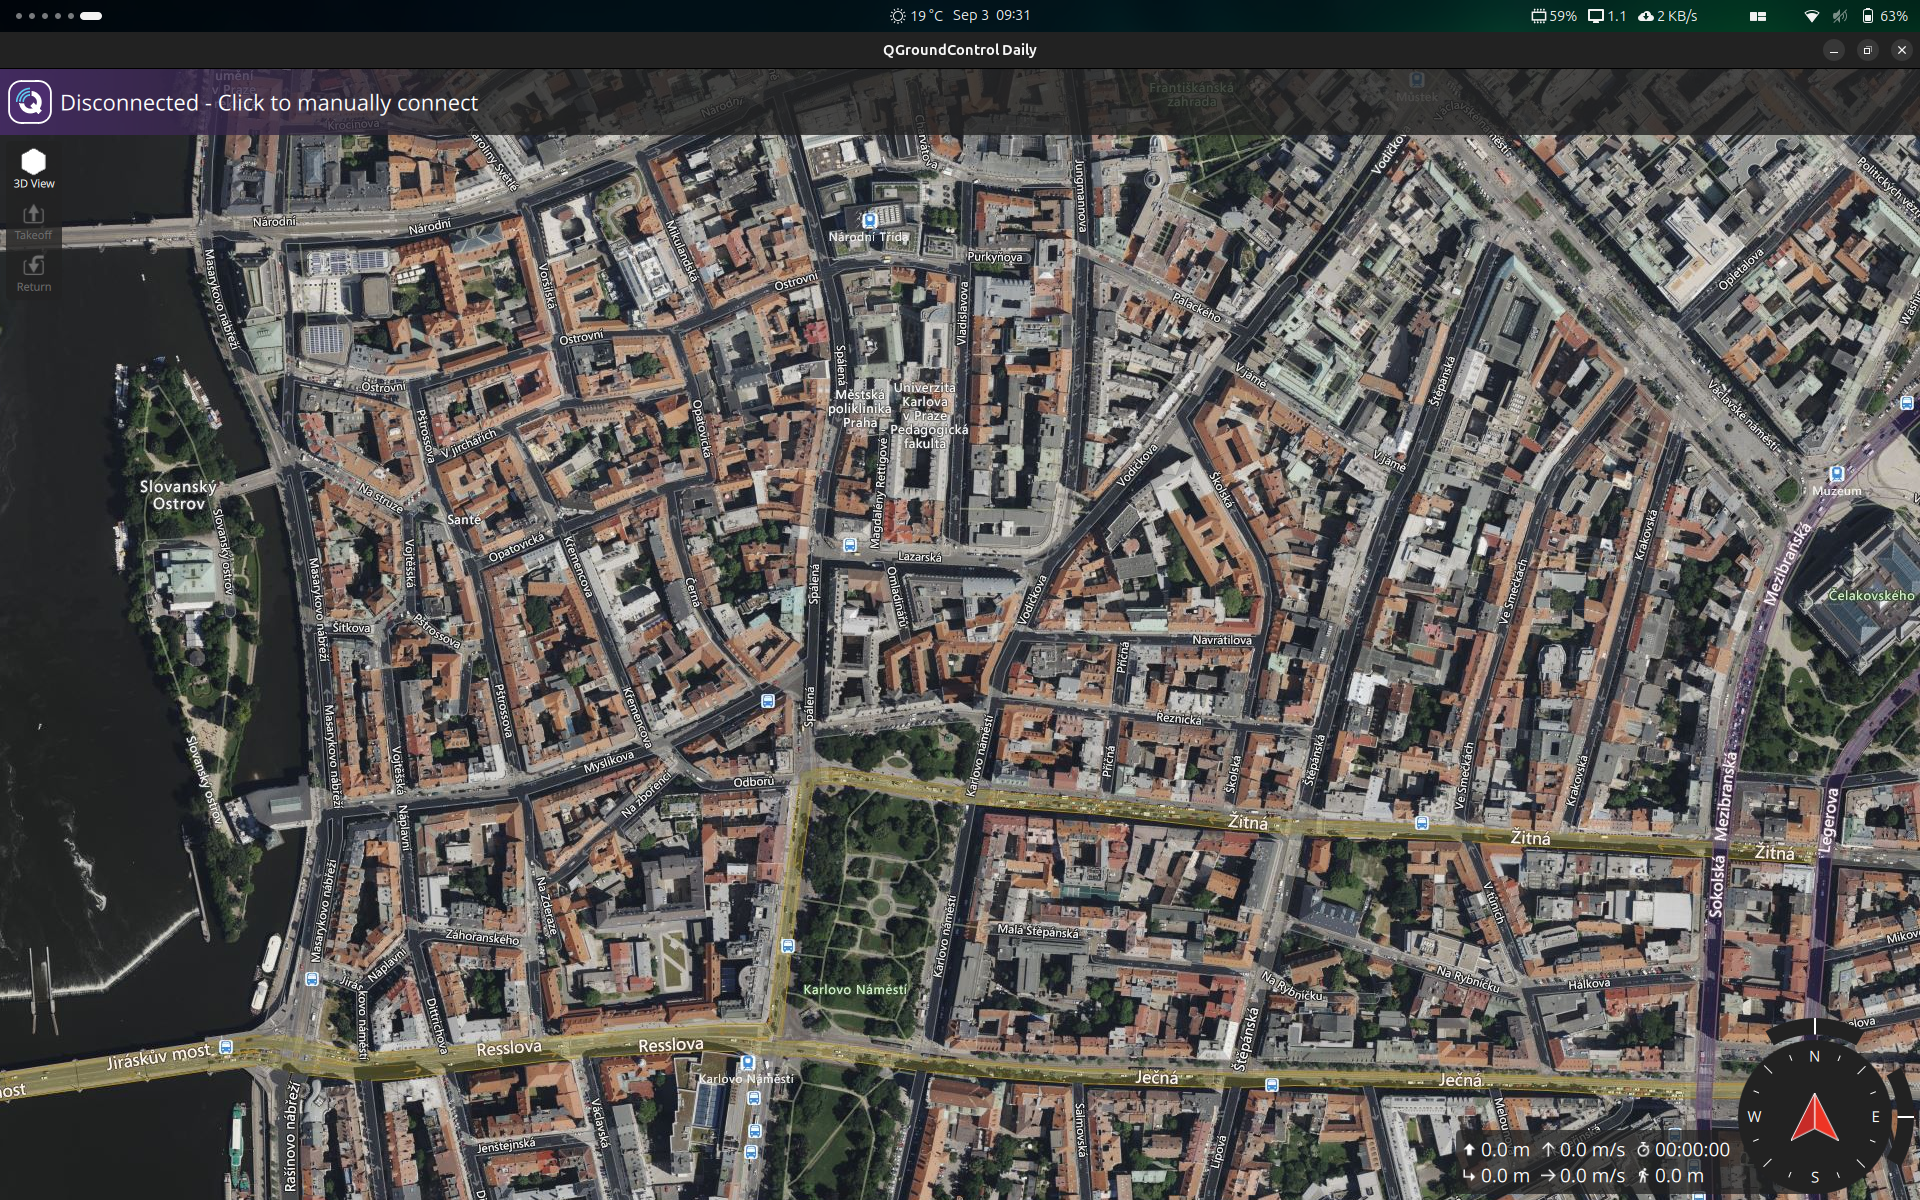
This tutorial was written for a specific version of QGroundControl (QGC). Because QGC is updated frequently, some screenshots and interface elements may look different in your version. The core steps are generally the same across recent releases, but if you notice significant differences, please consult the official QGroundControl documentation for the most up-to-date guidance.
Prepare Your Drone
In order to calibrate the drone, you need to connect your FCU (Flight Controller Unit) to your computer using a USB cable. QGroundControl should automatically detect your FCU and establish a connection. If the connection is not established, please check the following:
- Ensure that the USB cable is properly connected to both the computer and the flight controller.
- Verify that the flight controller is powered on. If it is not, connect the battery to the drone to power it up.
- If the connection still fails, try using a different USB cable or USB port on your computer. Some cables are designed for charging only and do not support data transfer
Calibration Steps
The calibration of the drone includes several aspects such as the sensors, the motors and the safety features. The sensors are usually within the flight controller unit or connected to it.
For successful calibration, ensure the device is on a horizontal surface. It must be as level as possible and remain stationary throughout most of the calibration process.
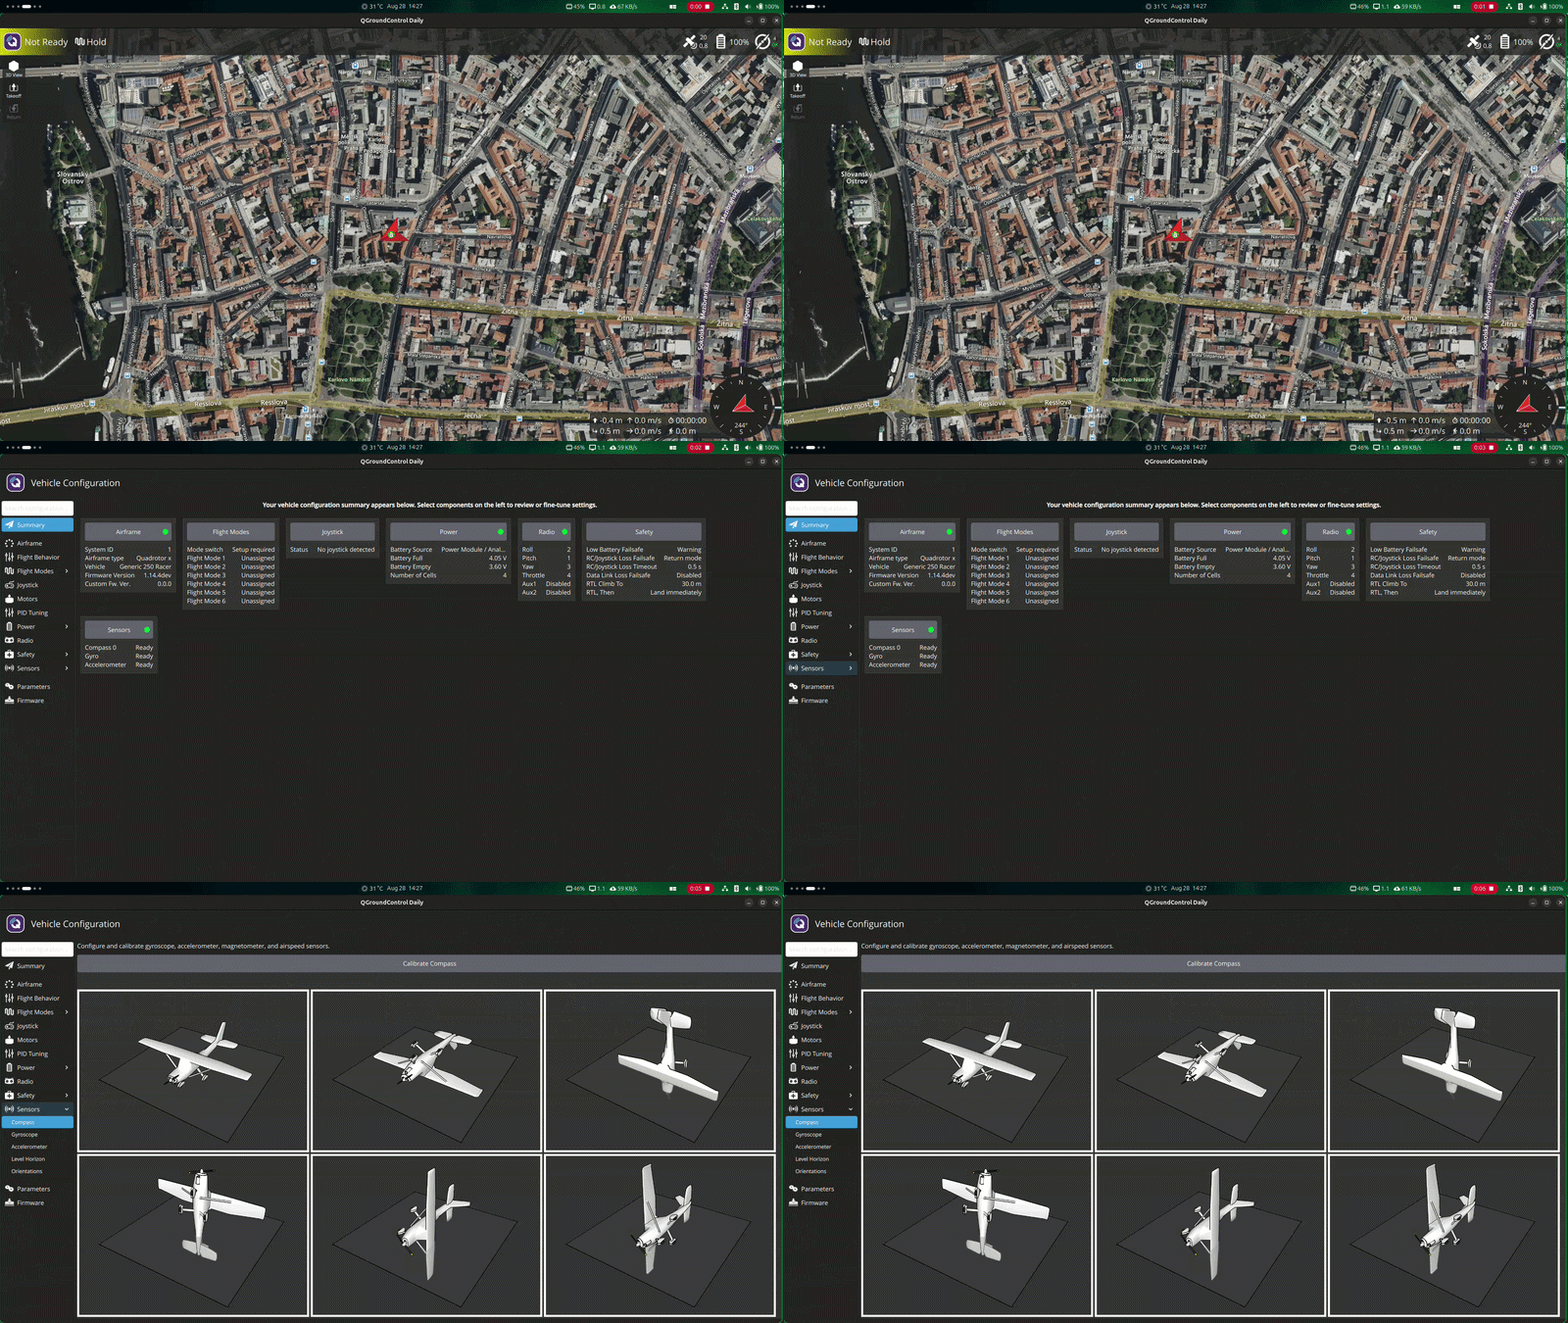
Navigate to Vehicle Setup > Sensors to calibrate the individual sensors.
Gyroscope
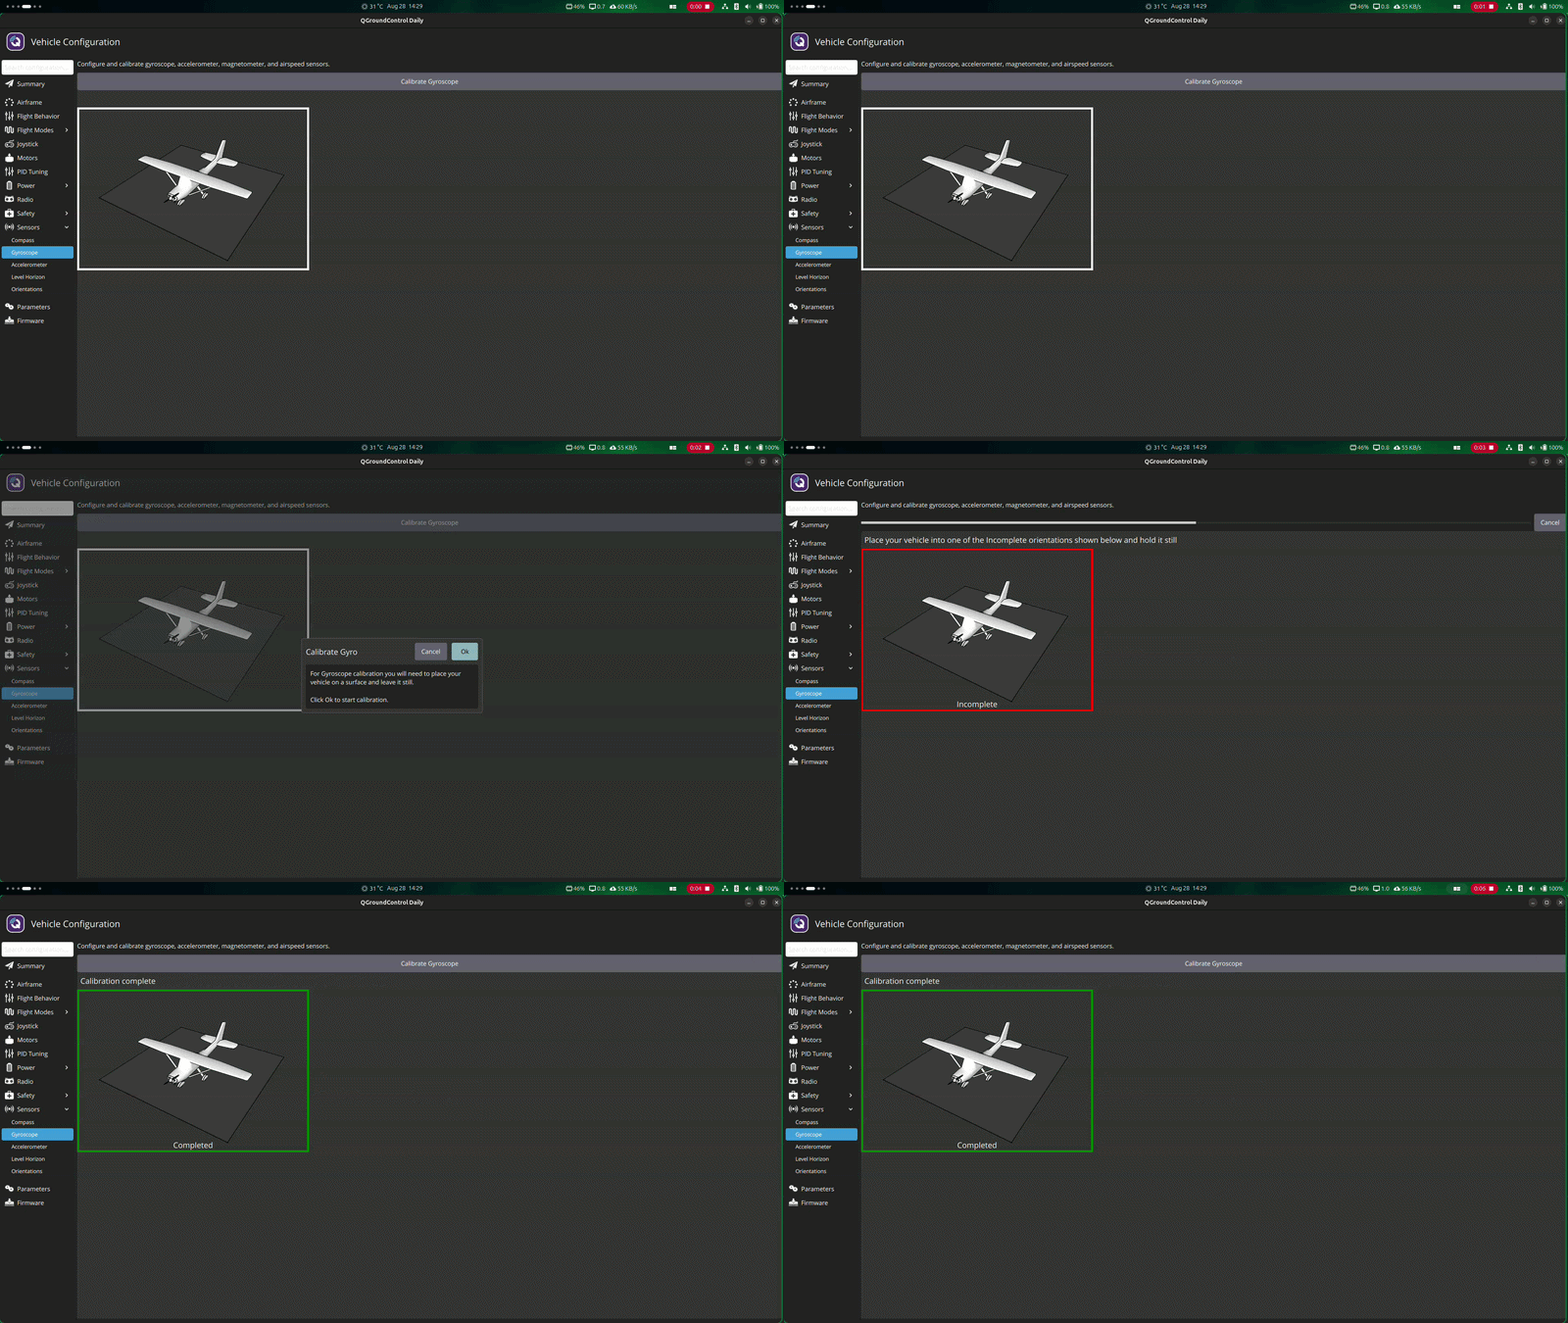
Click Gyroscope to begin calibration. Follow the on-screen instructions carefully. Place the drone on a level surface and wait. The red indicator will turn yellow when the correct position is registered and green upon successful calibration.
Accelerometer
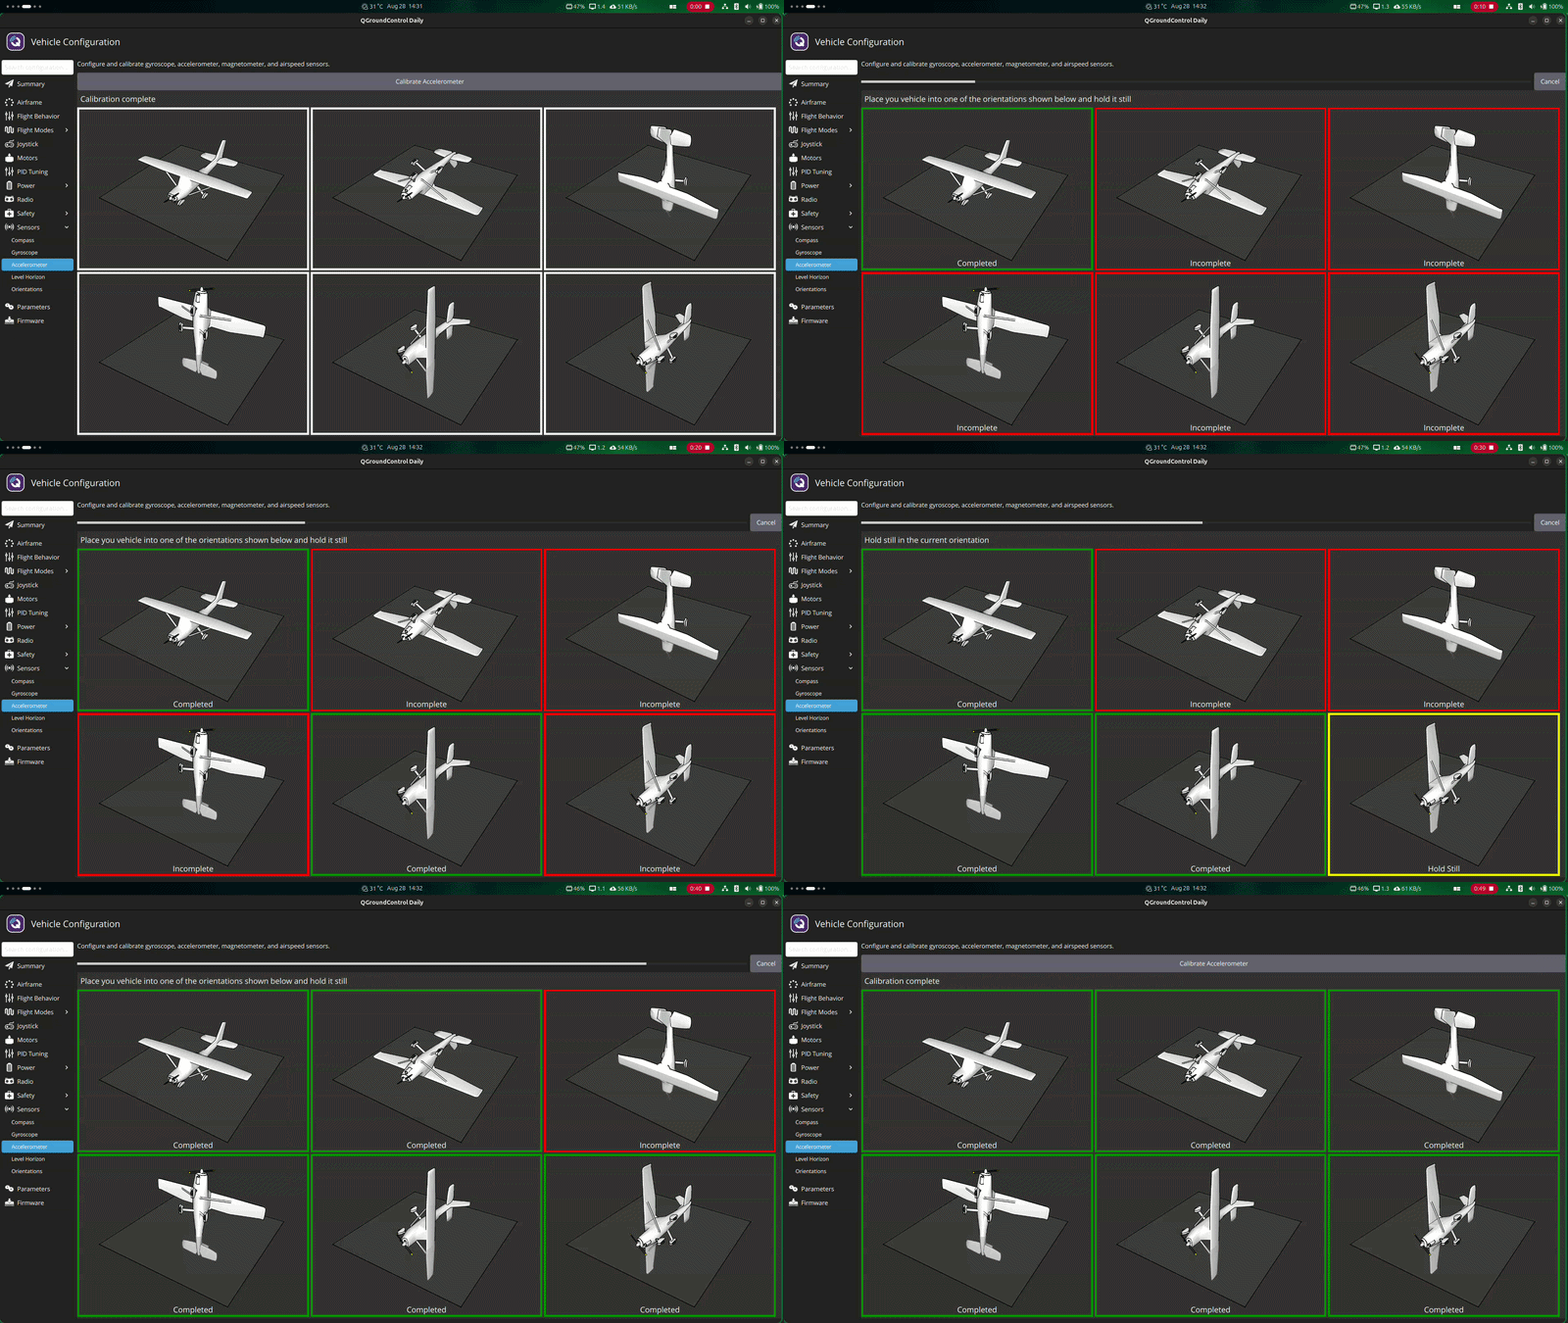
Click Accelerometer to start calibration. Follow the on-screen instructions. Flip the drone through all six axes, waiting in each position until the corresponding indicator turns green. Ensure the drone is as level as possible during calibration.
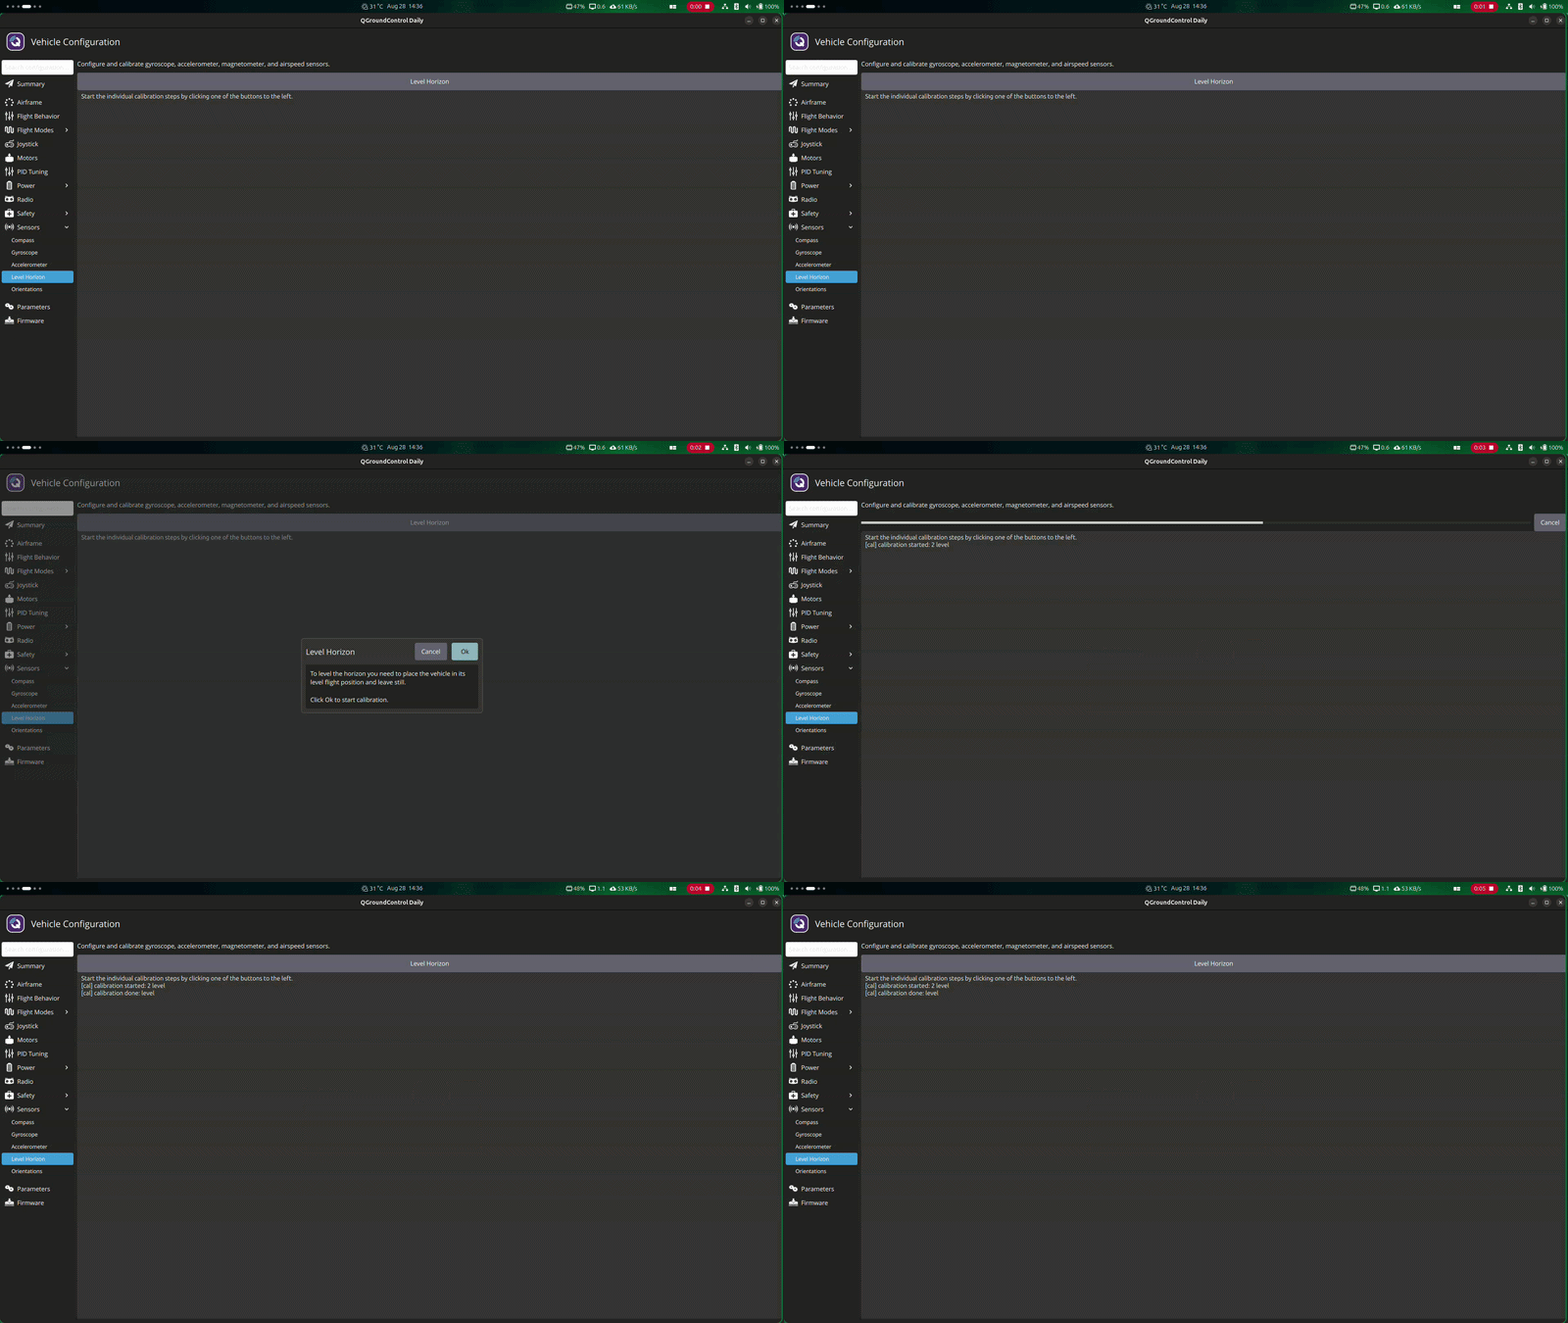
Level Horizon
Click Level Horizon to begin calibration. Follow the prompts. The process is automated, with log messages confirming completion.
Compass
Perform compass calibration outdoors to avoid interference from concrete walls or steel. Refrain from performing calibration near high-voltage power lines. A calibrated compass is necessary even for GPS flights.
Click Compass to start calibration. Carefully rotate the drone along the axes through six positions, keeping it level. Alternatively, you can hold the device and turn yourself around if needed, though this may be less accurate. Continue until all indicators turn green.
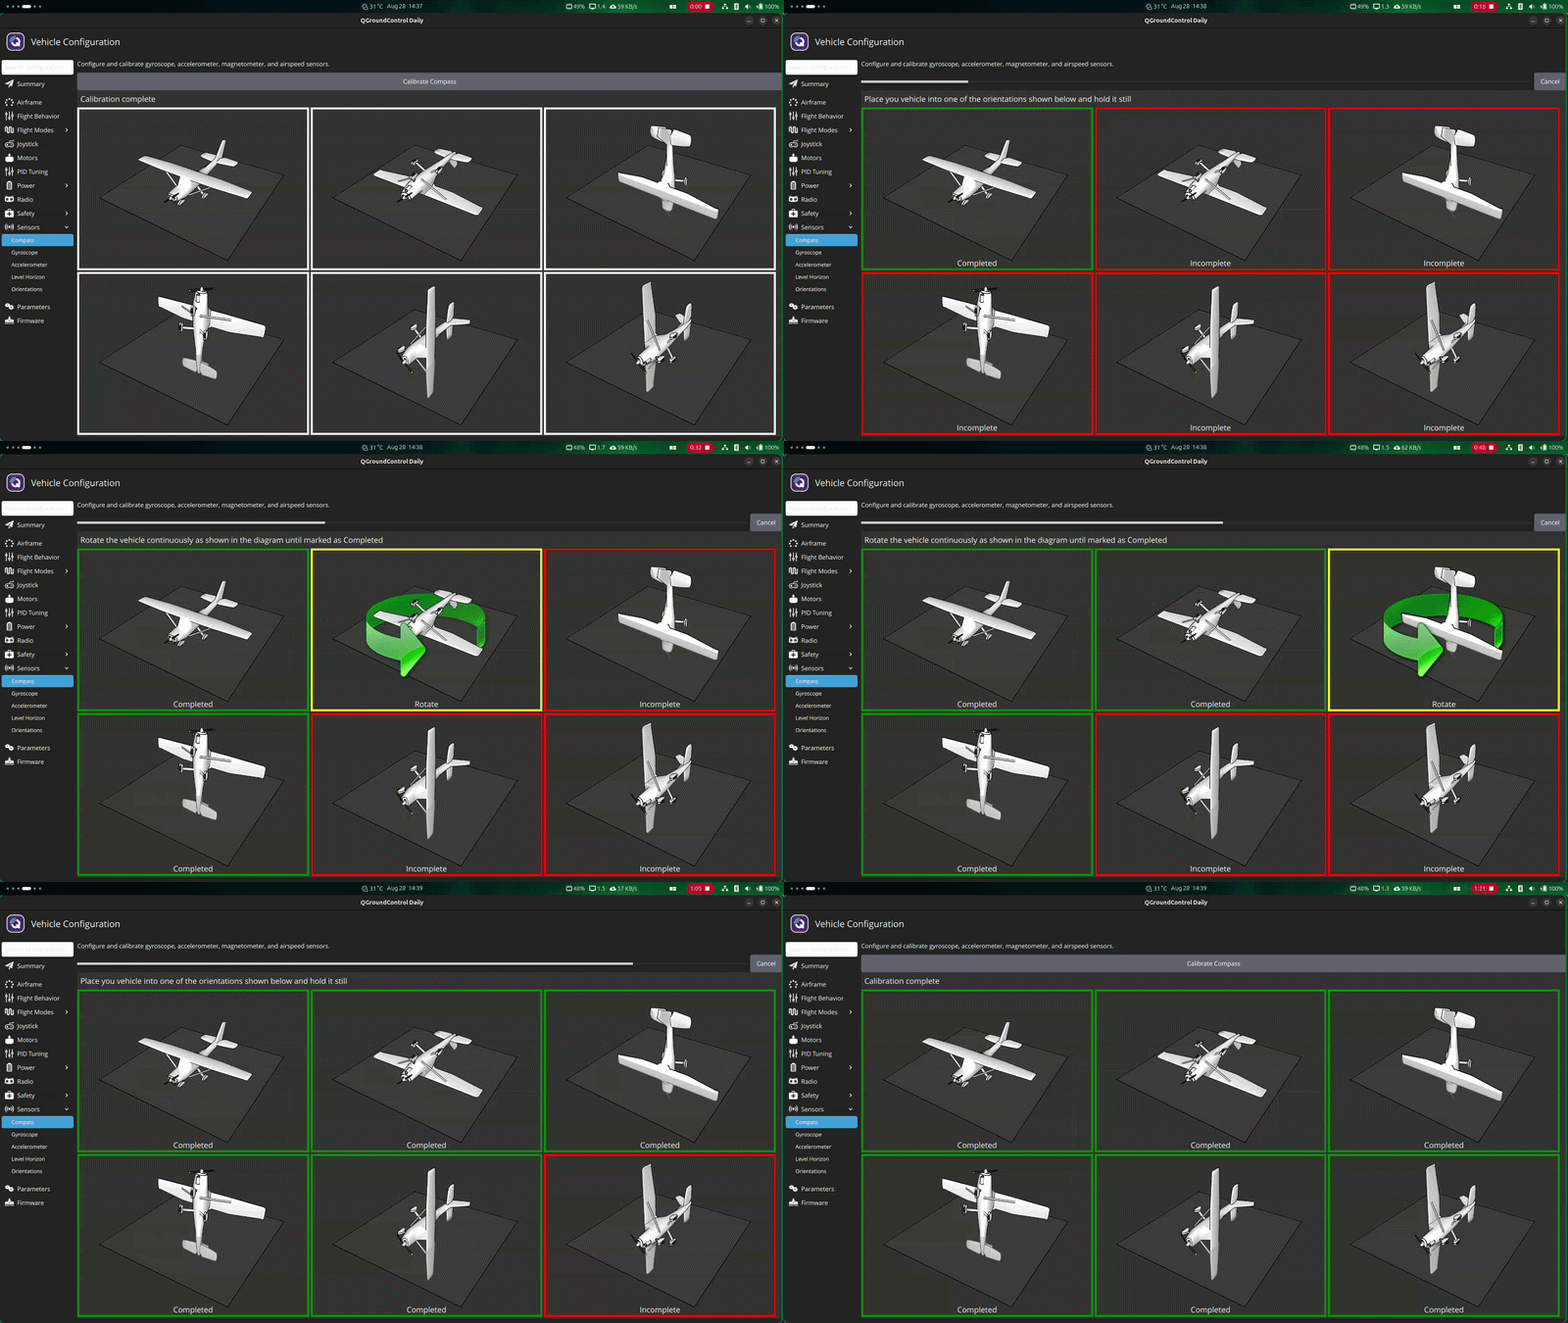
When the drone displays a Ready to Fly status in the main window, calibration is complete. If not, review the logs and warnings provided by the application.
If the drone exhibits abnormal flight behavior, such as circling the target location, recalibrate the compass.
Motors
The Motors Setup page (left sidebar of the vehicle setup menu) can be used to check that the motors are spinning correctly (without the propellers). To enable it, you should first press for a few seconds the safety button located on the GPS module of the drone called "SWITCH". You should hear a little music. Make sure the space around the motors is clear and nothing is touching them.
On QGroundControl you can now switch the safety button on the motors setup menu. Try to slightly increase the "All" cursor. If all the motors are properly spinning (in their supposed rotation direction and evenly), you can skip to the next part. If one or more motors are not spinning try to make them spin using their individual cursors. If they spin, then it is most likely that you need to calibrate the ESC of the drone. Please refer to the official documentation.
The motors only spin after you release the slider and will automatically stop spinning after 3 seconds.
For additional information, refer to the official website.
Safety
The Safety Setup page allows you to configure the most important failsafe settings.
Most of the Pixhawk safeties are disabled in order not to interfere with the one we use within the MRS system. Typical settings include the following triggers:
- Low battery failsafe: Warning
- RC loss failsafe: Land
- Return to launch settings: Later and do not land